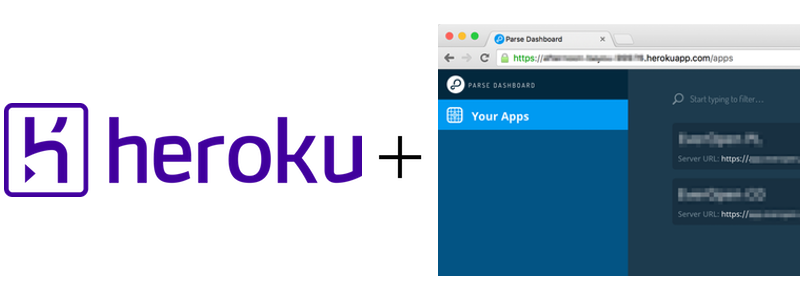
Parse Dashboard on Heroku in 3 steps
This article was originally posted on codementor.io
With the imminent shutdown of Parse, the team behind it have been hard at work open sourcing a replacement in the form of Parse Server. In addition, the team has also open-sourced the Parse Dashboard – the management dashboard that lets you view, query and manage all the data in your Parse instances.
There are plenty of articles for setting up Parse Server on different platforms but not much about setting up Parse Dashboard. In this article, we’ll go through the steps of getting Parse Dashboard deployed on Heroku free account in 15 minutes.
Before we start
You’ll need the following:
- Create an account on www.heroku.com
- Make sure you have Node.js, Git and the Heroku Toolbelt installed on your machine.
1) Get started
We’re going to be doing everything in a shell/terminal.
$ mkdir my-parse-dashboard

$ cd my-parse-dashboard

$ git init

$ npm init

$ npm install --save parse-dashboard
For npm init you can enter anything that makes sense.
2) Create 2 files
Now we need to create 2 files: parse-dashboard-config.json and a Procfile:
parse-dashboard-config.json
{
"apps": [
{
"serverURL": "https://api.parse.com/1", // For an app still hosted on Parse.com
"appId": "myAppId",
"javascriptKey": "myJavascriptKey",
"restKey": "myRestKey",
"appName": "My Parse.Com App",
"production": true
},
{
"serverURL": "http://my-self-hosted.parse-server.com/parse",
"appId": "myAppId",
"masterKey": "myMasterKey",
"appName": "My Parse Server App"
}
],
"users": [
{
"user":"user1",
"pass":"pass" // change this to something secure
}
]
}
The serverUrl property can be either:
– your own hosted version of parse-server on Heroku, AWS, Digital Ocean or wherever you have it setup
– An app still hosted on Parse.com – in this case you’ll need to get the keys, from the existing dashboard on Parse.com
There are more examples and documentation here for the config file format: https://github.com/ParsePlatform/parse-dashboard
Procfile
The contents of this should be one line:
web: ./node_modules/.bin/parse-dashboard --config ./parse-dashboard-config.json --allowInsecureHTTP
This file tells Heroku how to launch your app.
Important Note: In general the --allowInsecureHTTP flag should not be set as it means the data will be sent over HTTP and could susceptible to MITM attacks. However on Heroku this is needed because all apps are sat behind a proxy which terminates secure HTTPS requests for you. There is a ticket open on the dashboard project to improve this support for this https://github.com/ParsePlatform/parse-dashboard/issues/288. You should always access your app using the https protocol when.
3) Commit it and let’s go live!
Now it’s time to commit all of this to git:
$ git add package.json Procfile parse-dashboard-config.json

$ git commit -m "My First Commit"
Then run:
$ heroku login

$ heroku create

$ git push heroku master

$ heroku ps:scale web=1

$ heroku open
This will create a new app, a URL for you, push all the code to Heroku, kick off the web server and open your web browser to your new Parse Dashboard!
That’s it ☺ Not too bad, was it?